

On this page
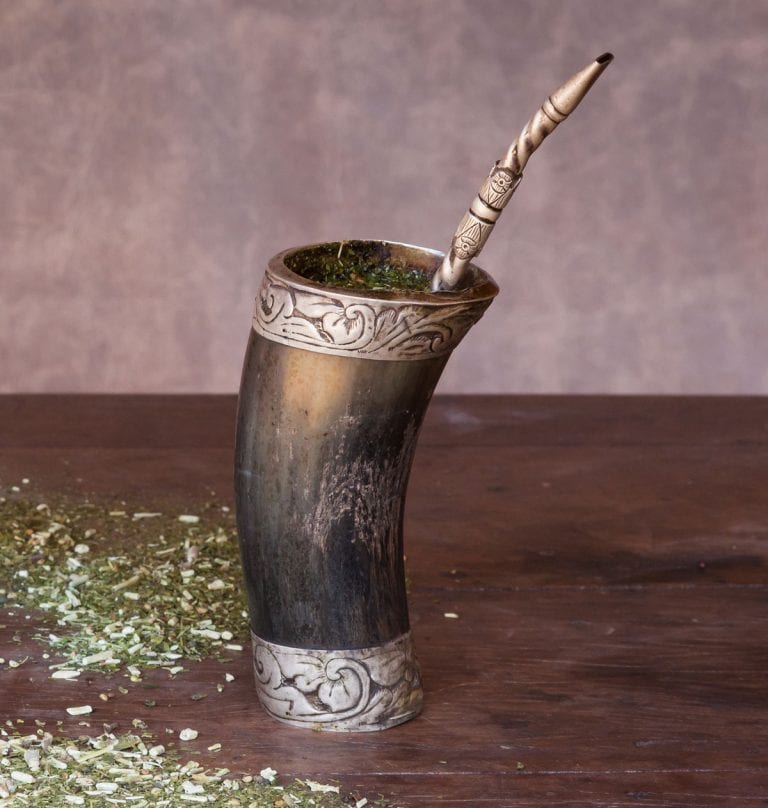
Curing a mate gourd means filling a new natural gourd with damp, used yerba and warm water, letting it sit for a day, then scraping out the soft pulp, and repeating once or twice until nothing loose comes up. Calabash, imperial, cuia and wooden gourds need it. Stainless steel, glass, ceramic and horn don’t; a rinse is enough.
Below is how to cure a mate gourd of every type, how to tell when it’s done, which old-school tricks are worth trying, and how to keep mold out once your gourd is ready.
Curing a Mate Gourd at a Glance
Do You Need to Cure a Mate Gourd?
It depends entirely on what the gourd is made of. If it grew on a vine or was carved from wood, cure it. If it was cast, blown, fired or stamped, just wash it and start drinking.
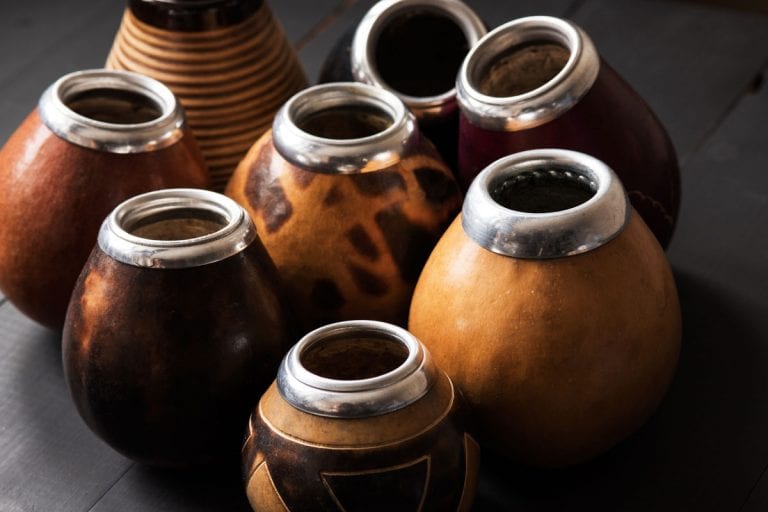

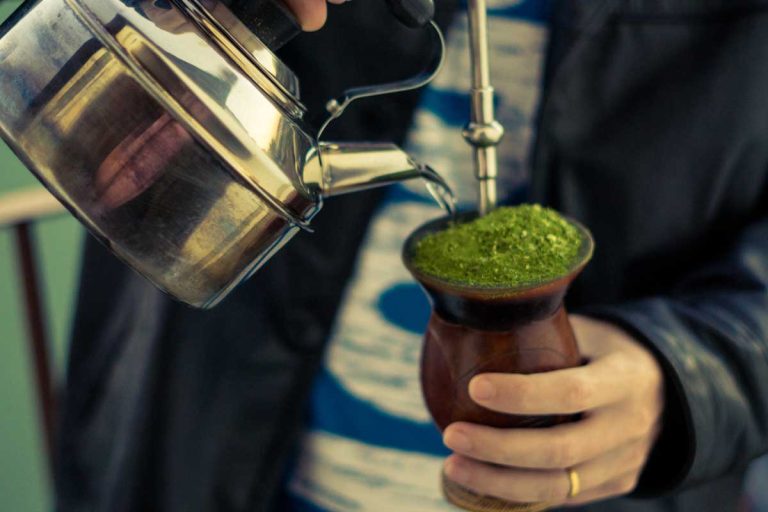

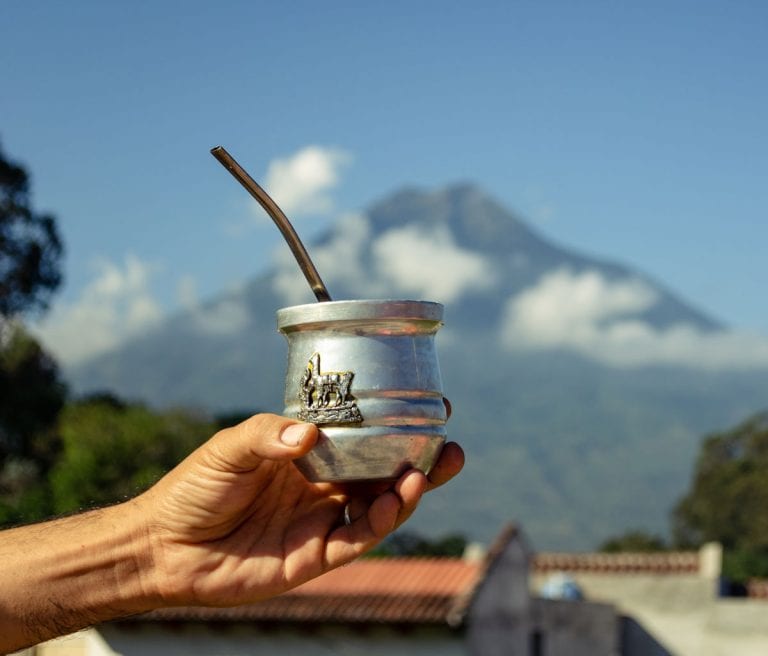
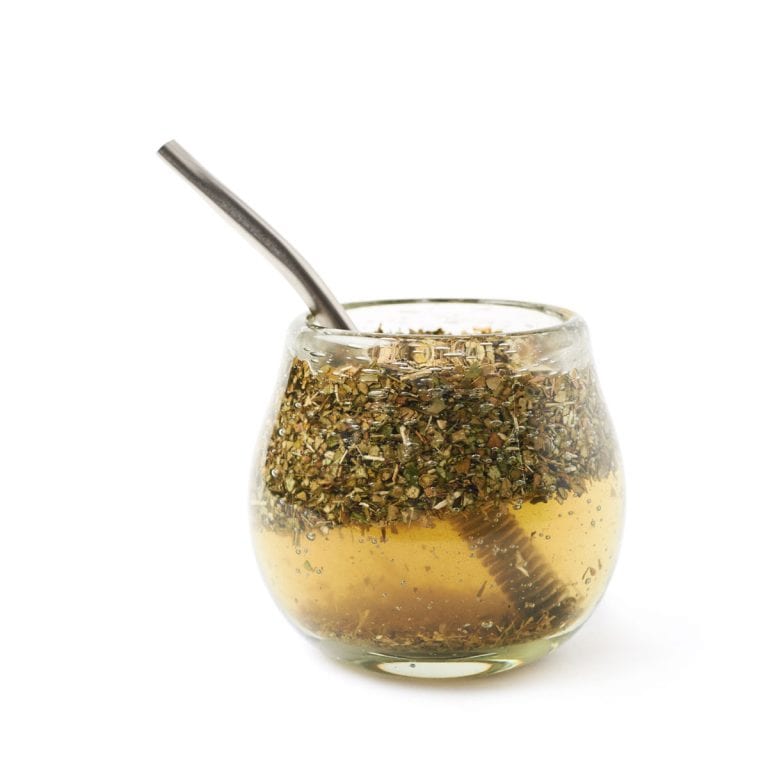
Can you skip curing a calabash?
You can, and a calabash will slowly cure itself with daily use. The cost is the first few weeks: flecks of pulp clogging your bombilla, a raw, squash-like taste in every mate, and loose fiber that holds moisture and molds faster. Two days of soaking up front avoids all three. If you’re still deciding which gourd to buy, our guide to choosing a yerba mate gourd compares all eight common types.
What Curing Does to a Mate Gourd
In Argentina, Uruguay and Paraguay this is called curar el mate, and it does three jobs at once.
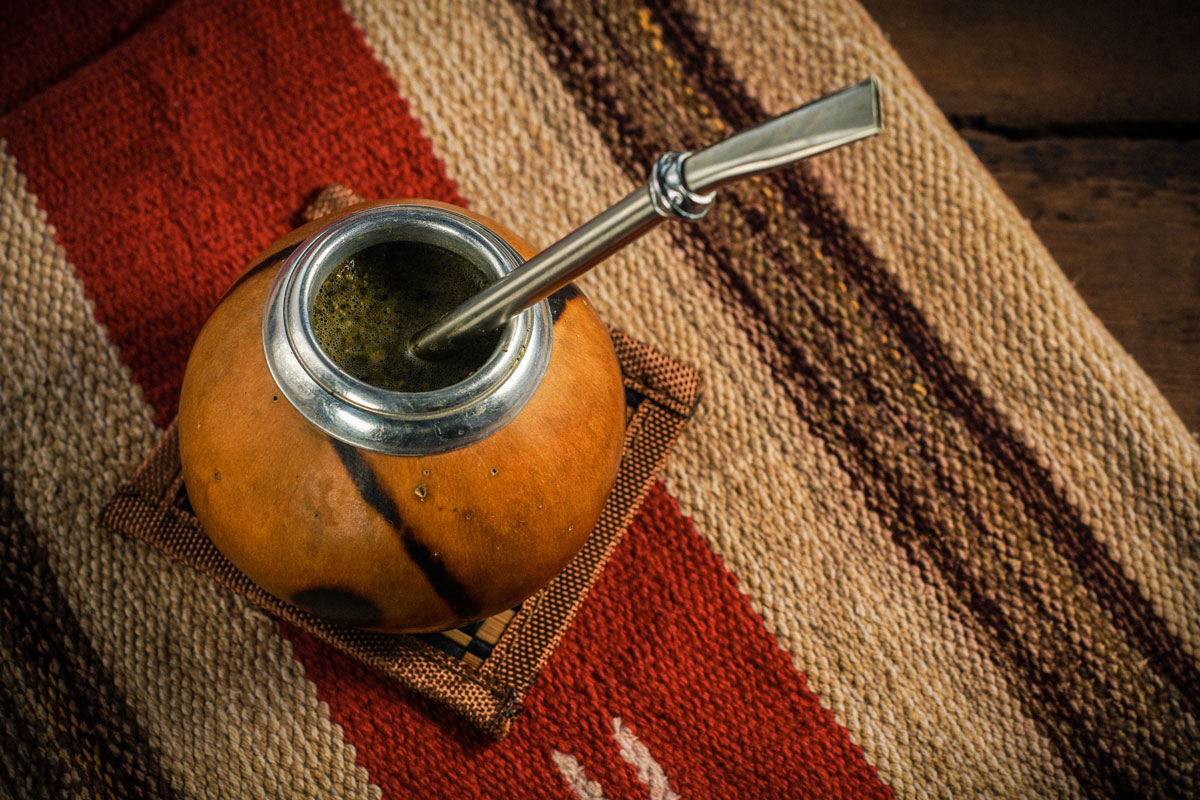
Curing won’t make a cracked gourd whole, and it won’t instantly transform the flavor. Most people notice the squash taste fade within the first few mates after curing; the rounder, seasoned taste a gourd is prized for comes with use.
How to Cure a Calabash Mate Gourd, Step by Step
This method works for plain calabash, imperial and cuia gourds. It’s the one most gourd makers recommend, and it uses nothing you won’t already have if you drink mate.
- Check it and shake it out. Look inside with a flashlight and tip out any seeds or dry flakes. Dark speckles in the wall are normal. A crack is not, so return the gourd before you start.
- Fill it three-quarters with used yerba. Spent yerba from your last mate is ideal: it’s already soft and costs nothing. No spent yerba? An inexpensive yerba with stems does the same job.
- Add warm water to just below the rim. Use 158–176°F (70–80°C), the same water you brew with. Boiling water can split the shell. On an imperial, stop below the metal rim so the leather stays dry.
- Let it sit for 24 hours. Leave it mouth up at room temperature. If the top layer of yerba dries out, add a splash of warm water.
- Empty it and scrape. Tip out the yerba, then scrape the inside walls firmly with a teaspoon to lift the softened membrane and loose fiber. Don’t gouge the shell. Rinse with warm water.
- Repeat once or twice, then dry it. Do a second round, and a third if needed, until the spoon brings up nothing loose. Let the gourd dry completely, mouth up in an airy spot, for several hours before your first mate.
- The spoon glides over a smooth, firm wall and nothing comes loose.
- The inside has turned an even green-brown.
- A rinse no longer smells like raw squash.

Imperial gourds: protect the leather and the rim
An imperial is a calabash with a leather jacket and a metal rim, usually alpaca (nickel silver). Water that seeps under the rim softens the gourd there, and wet leather stains and stiffens. Fill only to just below the metal, wipe drips off the leather right away, and once the gourd is dry, rub a drop of olive oil or leather conditioner into the leather with a soft cloth every few weeks.
Cuias for chimarrão
A Brazilian cuia cures exactly like a calabash, just with more yerba because it’s bigger. The wide mouth makes scraping easy. Use spent erva-mate, the fine, bright green grind used for chimarrão, and expect two rounds to be enough for most cuias.
How to Cure a Wooden Mate Gourd (Algarrobo and Palo Santo)
Wood has no pulp to scrape out. Curing a wooden mate is about conditioning the grain so it takes on water slowly, and softening the wood’s own taste, which is strongest in palo santo with its piney, perfumed resin.
- Optional: oil the inside. The traditional start is a thin film of neutral oil or butter rubbed over the inside wall. Let it soak in for a few hours and wipe off any excess. Keep it thin, because fat that pools can turn rancid. Plenty of makers skip this step.
- Fill it with damp used yerba and warm water. Same as a calabash: three-quarters yerba, water at 158–176°F (70–80°C), and 24 hours mouth up.
- Empty, rinse and dry. Tip out the yerba and rinse. There’s nothing to scrape, so don’t dig at the wood.
- Repeat for two to three days. Algarrobo usually settles quickly. Palo santo can take a few extra rounds before its resin stops overpowering the mate.
Traditional Curing Tricks: Which Are Worth It?
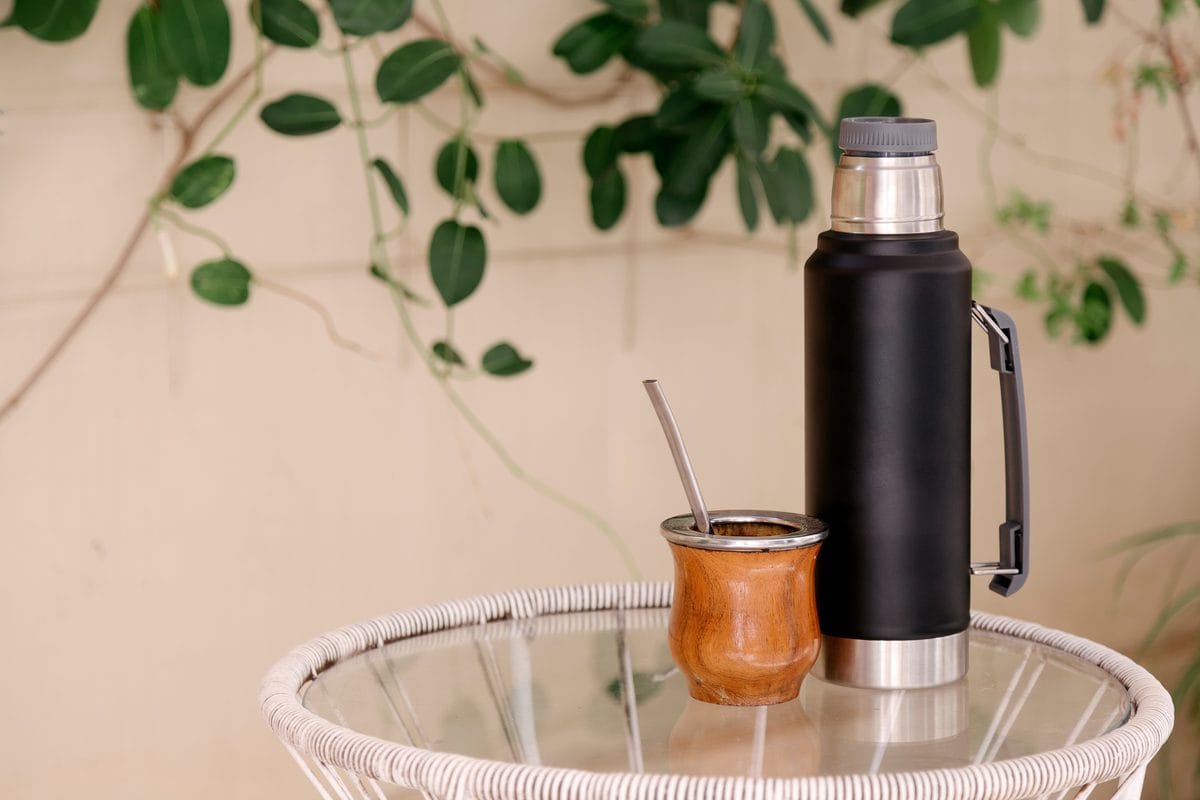
Ask three Argentine grandparents how to cure a mate and you may get three answers. These are the methods you’ll hear about most, and where each one stands.
| Method | What it involves | Verdict |
|---|---|---|
| Used yerba and warm water | The method above: soak a day, scrape, repeat. | Use it Works on every natural gourd. |
| Burnt sugar (azúcar quemada) | A spoonful of sugar caramelized inside the gourd, traditionally with a hot ember, to coat the walls. | Optional Old-school sweetness, but easy to scorch the shell. |
| Fat (grasa or butter) | A thin layer rubbed inside, most often on wooden gourds. | Wood only Thin film; too much goes rancid. |
| Flamed whisky or brandy | Some makers suggest pouring a little into a scraped gourd and lighting it for a smoky note. | Optional Real fire risk; skip it unless you’ve seen it done. |
| Boiling water | Pouring water straight off the boil to speed things up. | Avoid Can crack the shell and makes yerba bitter. |
| Soap or the dishwasher | Washing the gourd like a mug. | Never Strips the cure and leaves a soapy taste. |
How to Keep a Cured Gourd Clean
Curing takes two days. Keeping a gourd in good shape takes about thirty seconds after every mate, and those thirty seconds matter more than the cure itself.
- Empty the yerba as soon as you finish (spent yerba is great for the garden; see ways to reuse yerba mate).
- Rinse with hot, not boiling, water.
- Drain it upside down for a minute, then dry it mouth up somewhere airy.
- Let it dry fully between sessions. A second gourd helps if you drink mate twice a day.
- Leave wet yerba in the gourd overnight.
- Use soap, bleach or the dishwasher.
- Put it away wet or with the bombilla inside.
- Fill an imperial above the metal rim.
- Dry it on a heater or in hard afternoon sun, which can crack the shell.

Mold or Stains? How to Tell and What to Do
Almost everyone who buys a calabash eventually looks inside and panics. Most of the time, it’s just the gourd doing what it’s supposed to do.
| What you see | Feel and smell | What it is | What to do |
|---|---|---|---|
| Even green, brown or black color on the inside wall | Smooth; smells like mate | Tannin staining, the normal patina of a cured gourd | Nothing |
| White, gray or blue-green fuzzy spots | Raised and velvety; musty smell | Surface mold, usually from yerba left inside or a gourd stored wet | Clean and re-cure |
| Soft, spongy or crumbling patches | Gives under a spoon; sour smell that won’t rinse out | Rot in the shell itself | Replace it |
How to fix a moldy mate gourd
- Scrape out the spots. Use a spoon to lift every bit of fuzzy growth from the wall.
- Rinse well. Use hot, not boiling, water. For stubborn spots, rinse with warm water and a splash of white vinegar, then rinse again with plain water.
- Dry it completely. Leave it mouth up in a bright, airy spot for a full day. Gentle morning sun helps; avoid hard heat.
- Re-cure before drinking. Give it one round of used yerba and warm water for 24 hours, then scrape and dry as before.
If mold comes back after a re-cure, the walls feel soft, or a sour smell lingers after drying, retire the gourd. Mold that keeps returning has usually gone into the shell, where you can’t reach it.
Gourds and Yerba for Curing
If you’re buying a first gourd, or want one you never have to cure, these are good places to start. Each is on Amazon.
As an Amazon Associate, AmigoFoods earns from qualifying purchases. For more yerba to try once your gourd is ready, see our best yerba mate brands.
Mate Gourd Curing FAQ
How long does it take to cure a mate gourd?
Two to three days for a calabash, imperial or cuia: one 24-hour soak per round, with a scrape between rounds. Hands-on time is only about five minutes a day. Wooden gourds take two to three days as well, sometimes longer for palo santo.
Can I cure a gourd with fresh yerba instead of used?
Yes. Fresh yerba works just as well; it simply uses up yerba you could be drinking. An inexpensive yerba with stems is a good compromise.
What happens if I don’t cure my mate gourd?
A stainless steel, glass or ceramic mate is fine without it. An uncured calabash will shed bits of pulp, taste like raw squash for the first weeks, and is more likely to grow mold because the loose fiber holds water.
Why is the inside of my gourd turning black?
Even, smooth darkening is tannin from the yerba, and it’s a sign of a well-seasoned gourd. Only raised, fuzzy or soft spots are a problem; see the mold table above.
Do stainless steel or glass mates need curing?
No. Non-porous materials have nothing to absorb and no pulp to remove. Wash them before the first use and you’re done.
Can I use boiling water to cure a gourd?
No. Boiling water can crack a calabash or split wood, and it scalds yerba bitter. Stay between 158 and 176°F (70–80°C).
Do I ever need to cure a gourd again?
Re-cure after cleaning out mold, or if a gourd has sat unused and bone-dry for months. One 24-hour round is usually enough.
Should a mate gourd dry upside down?
Only for a minute to drain. After that, stand it mouth up so air can reach the inside; a gourd left face-down traps moisture, which is exactly what mold needs.
Printable Curing Steps
The card below has the calabash method in one place, ready to print and keep with your new gourd.
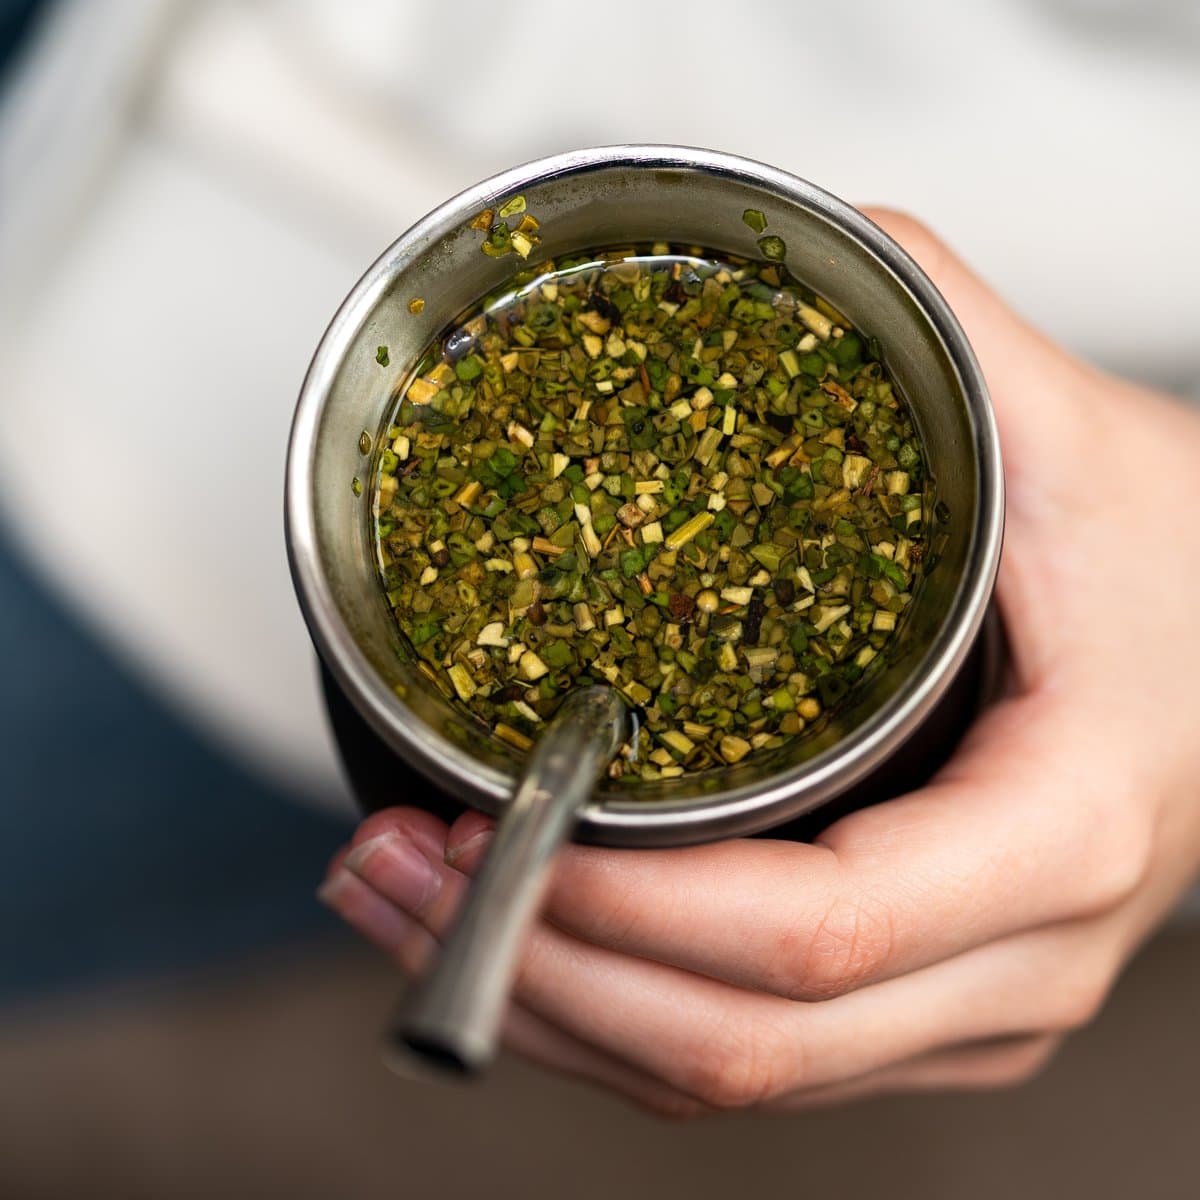
How to Cure a Calabash Mate Gourd
Cure a new calabash, imperial or cuia mate gourd before its first mate: soak it with used yerba and warm water, scrape out the soft pulp, and repeat until the walls are smooth. It takes 2–3 days and about 15 minutes of hands-on time.
Materials
- Used (spent) yerba mate, enough to fill the gourd ¾ full
- Hot water, 158–176°F (70–80°C), not boiling
Tools
- Natural calabash, imperial or cuia mate gourd
- Teaspoon or mate scraper
- Kettle (a thermometer helps)
- Paper towels
Instructions
- Check the gourd. Look inside with a flashlight and shake out any seeds or dry flakes. Return it if you see a crack.
- Fill with used yerba. Fill the gourd three-quarters full with spent (used) yerba mate, or an inexpensive yerba with stems.
- Add warm water. Pour in water at 158–176°F (70–80°C) to just below the rim, never boiling. On an imperial gourd, stop below the metal rim.
- Rest 24 hours. Leave it mouth up at room temperature. Add a splash of warm water if the top layer dries out.
- Empty and scrape. Tip out the yerba and scrape the inside walls firmly with a teaspoon to lift the soft membrane and loose fiber. Rinse with warm water.
- Repeat and dry. Repeat steps 2–5 once or twice, until the spoon brings up nothing loose. Dry the gourd completely, mouth up in an airy spot, before your first mate.
Notes
Done when: the spoon glides over a smooth wall, the inside is an even green-brown, and a rinse no longer smells like raw squash.
No curing needed for stainless steel, glass, ceramic or horn mates. Wooden gourds (algarrobo, palo santo) use a soak-and-dry method without scraping; see the article for details.
After curing: empty the yerba after every mate, rinse with hot (not boiling) water, never use soap or the dishwasher, and dry mouth up.
More Yerba Mate Guides
More Yerba Mate
See all →
Jorge Garcia is the founder of AmigoFoods, where he has spent over 20 years helping readers discover authentic Latin American and Spanish cuisine. Raised in a Cuban-American household, Jorge learned to cook at the hands of his mother and grandmother, carrying forward generations of family recipes. That heritage, backed by his family’s four-generation history in the Latin food industry, inspired him to launch AmigoFoods in 2003. With more than 1,000 published articles on recipes, ingredients, and food culture, Jorge’s mission is simple: make authentic Latin cooking approachable for home cooks everywhere while honoring the traditions behind every dish.